How to film the northern lights with the Sony A7IV
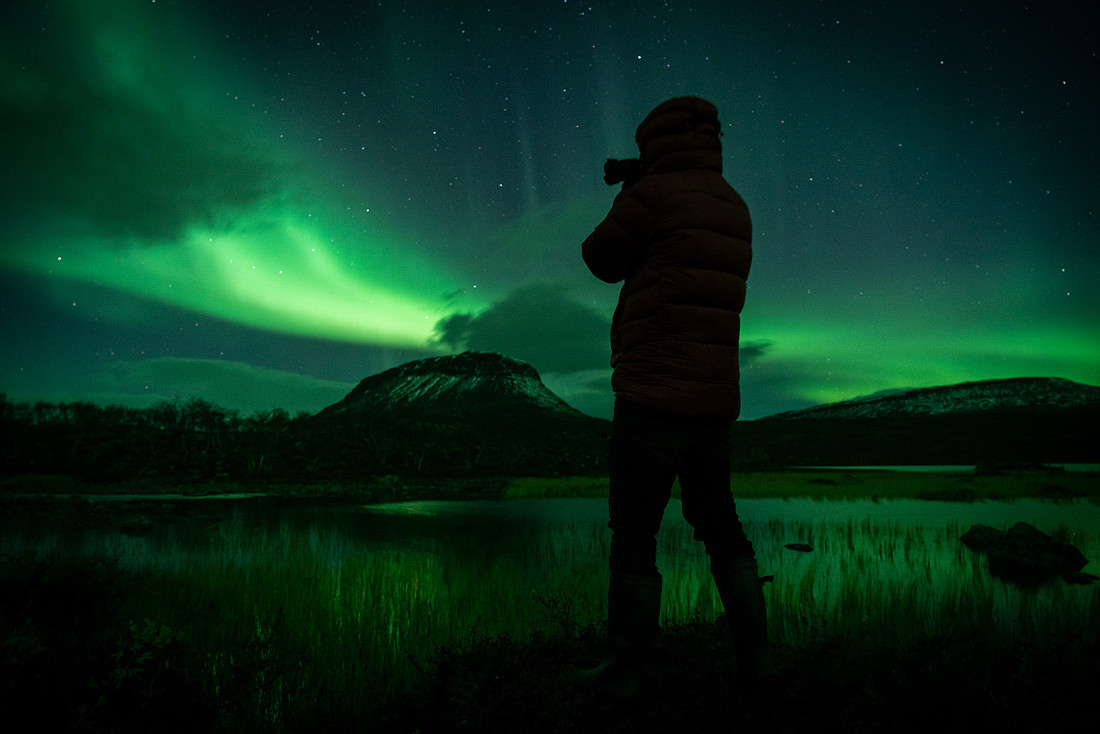

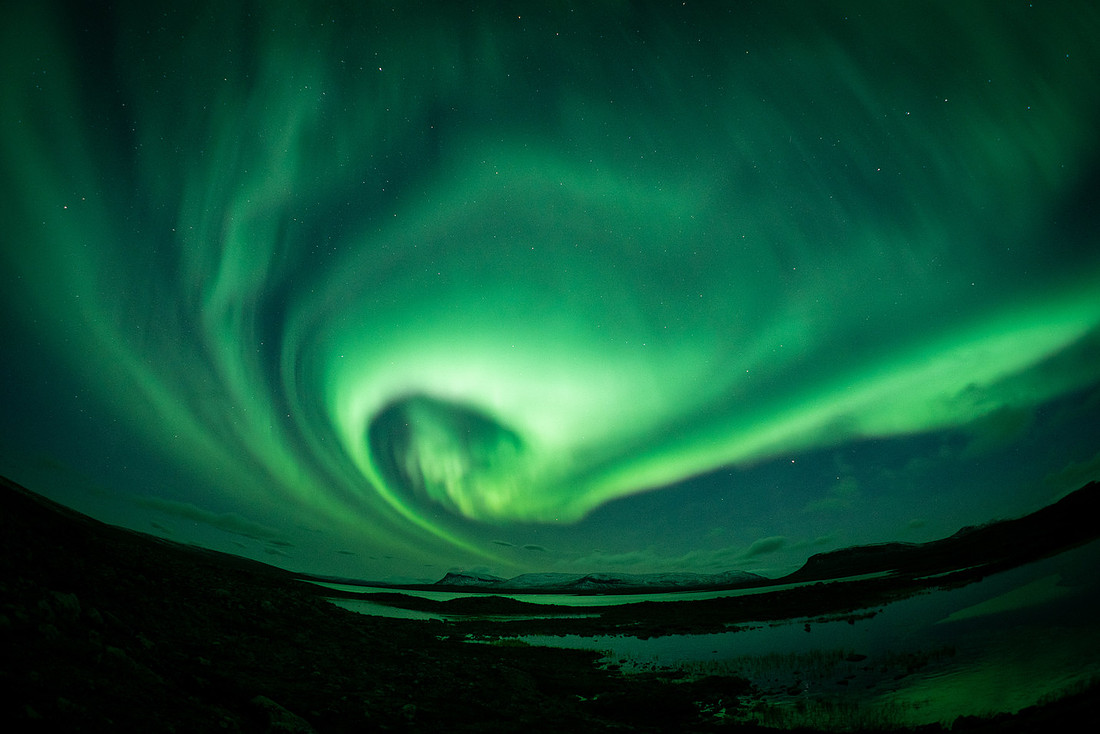
There is something magical about standing under the northern sky, camera in hand, as green light ripples across the horizon. The aurora feels alive — unpredictable, silent, and humbling. If you’ve ever tried to record it on video, though, you know it’s a tricky subject. The Sony A7 IV is a beast in low light, but capturing the aurora’s true motion takes the right mix of settings, patience, and timing.
Here are three field-tested tips I’ve learned for recording the aurora borealis with the Sony A7 IV — from choosing between S&Q and normal recording to knowing when the lights are strong enough to shoot.
1. S&Q vs Normal Video: Know Your Goal
The A7IV gives you two main ways to record the aurora — S&Q (Slow & Quick Motion) and normal video. Each has its own magic.
-
S&Q Mode
If you want that dreamy, timelapse-style sequence where the aurora dances in seconds, S&Q is the way to go. Set the frame rate to 1 fps or 2 fps, and use a 0.5–1 second shutter speed per frame. Keep your format in 4K 24p for rich color and smooth blending.
The camera bakes the timelapse into a ready-to-play video, which is perfect for creators who want cinematic clips without hours of post-processing. -
Normal Video Mode
For real-time aurora movement — those fast flickering curtains that feel alive — stick with standard recording. Go with 24p or 30p, a shutter of 1/15–1/30 sec, ISO between 6400 and 12800, and aperture wide open (f/1.4–f/2.8).
This gives you true video you can slow down or grade later, keeping more dynamic range and detail.
2. Nail Your Low-Light Settings
The aurora doesn’t wait for you to get your exposure right. Set up before it peaks.
-
Lens: A fast wide-angle like a 20mm f/1.8 or 24mm f/1.4 is ideal.
-
Aperture: Stay between f/1.4–f/2.8.
-
Shutter Speed:
-
Normal mode: 1/15–1/30 sec
-
S&Q mode: 0.5–1 sec per frame
-
-
ISO: Start at 6400, push higher if needed — the A7IV handles it surprisingly well.
-
White Balance: Lock it manually around 3500K–4000K to avoid color shifts.
-
Focus: Use manual focus, magnify a bright star, and dial it in until it’s tack sharp.
3. Chase the Right Aurora Strength
Even the best settings can’t make up for a weak display. For real-time video, you’ll want at least a Kp 3–4. That’s when the aurora begins to dance fast enough to see on camera.
For stronger, more dramatic movement — curtains and pulsing waves — aim for Kp 5 or higher. Below Kp 2, the lights are usually too faint for smooth footage, better suited to still photos or timelapse.
A good rule of thumb: if you can see color and motion clearly with your eyes, your camera can, too.
Bonus Field Tip
Keep a spare battery in your inner pocket — cold kills power fast. If you’re traveling somewhere remote like Finland or Sweden, bring a sturdy tripod; even the smallest shake will ruin long exposures.
And trust me — a pair of Vallerret photography gloves is worth every cent. They’ll keep your hands warm and nimble so you can tweak settings without freezing your fingers off.
The first time I recorded the aurora on my A7IV, I remember checking the screen in disbelief — the greens and purples were dancing just like they had in the sky. That’s the reward of getting your setup dialed in.
When the lights start moving, hit record and forget the rest. Just enjoy the show. Super cool!