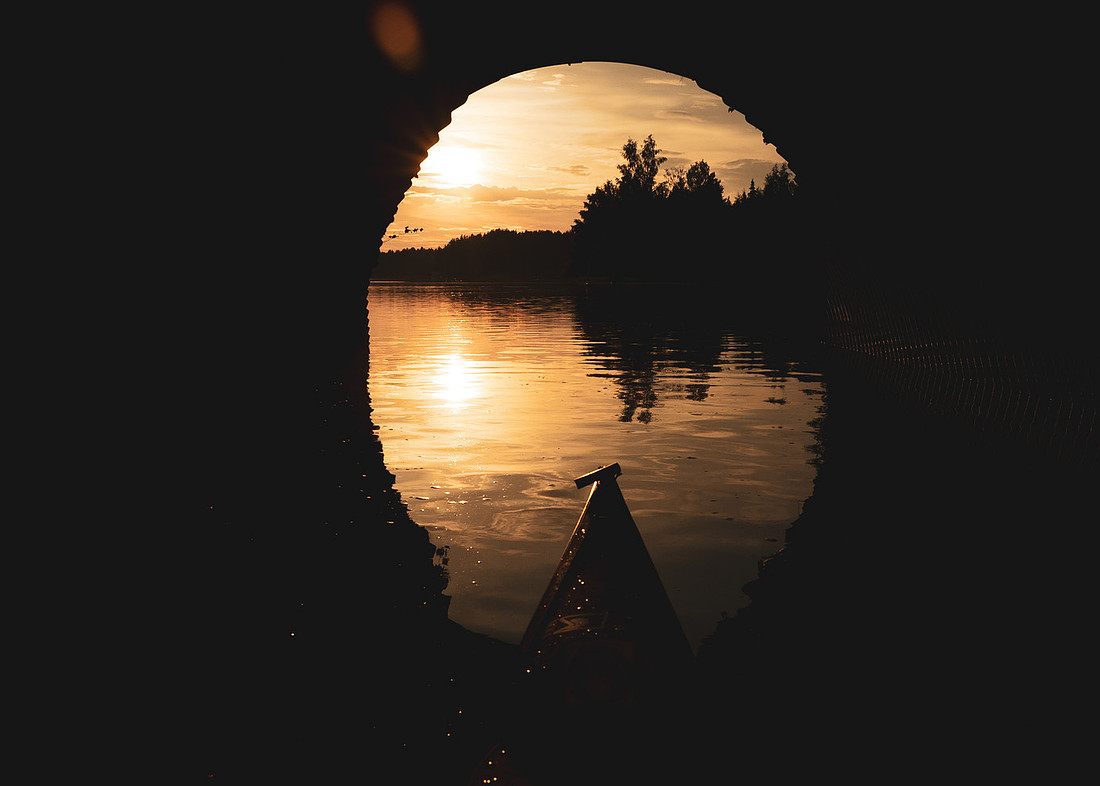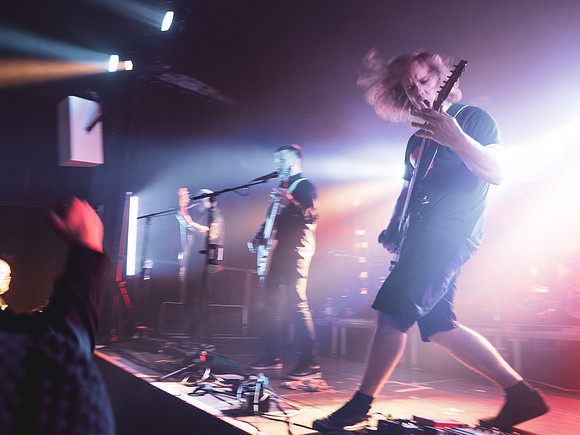
I spend most of my time photographing forests, lakes and mountains. Then I step into a concert venue, and everything changes. No sunrise to wait for, no slow light. Just darkness, noise, and light that changes every second.
It’s one of the most fun challenges I know. Here’s what works for me with the A7 IV.
Fast glass first.
I shoot with the 24-70mm GM at f/2.8. In a dark room, aperture is your best friend. If you have a fast prime, like a 35mm or 50mm f/1.8, even better.
Don’t fear ISO.
The A7 IV handles high ISO well. I’d rather have a sharp photo with some grain than a clean, blurry one. Grain feels alive. Blur from a slow shutter usually doesn’t, unless it’s on purpose.
Shutter speed keeps it sharp.
Musicians move fast. I try to stay around 1/200s or faster for action, and slower only when I want motion and energy in the frame.
Expose for the light, not the dark.
Stage lights blow out faces fast. I expose for the highlights and let the shadows fall. Dark is fine. Dark is mood.
Let the camera help.
Eye autofocus on the A7 IV is a lifesaver when the light is flickering. Set it, trust it, and focus on the moment.
Anticipate.
This is the same as in nature. Learn the songs, watch the band, feel when the big moment is coming. A raised guitar in backlight, a singer leaning into the crowd. Be ready before it happens.
The real secret?
Feel the music. Same as the forest, the photos come when you stop chasing them and start feeling what’s happening around you.
Have you ever tried shooting a concert? What was the hardest part? Tell me in the comments, I’m happy to help.
Terrible bueno nights.
]]>
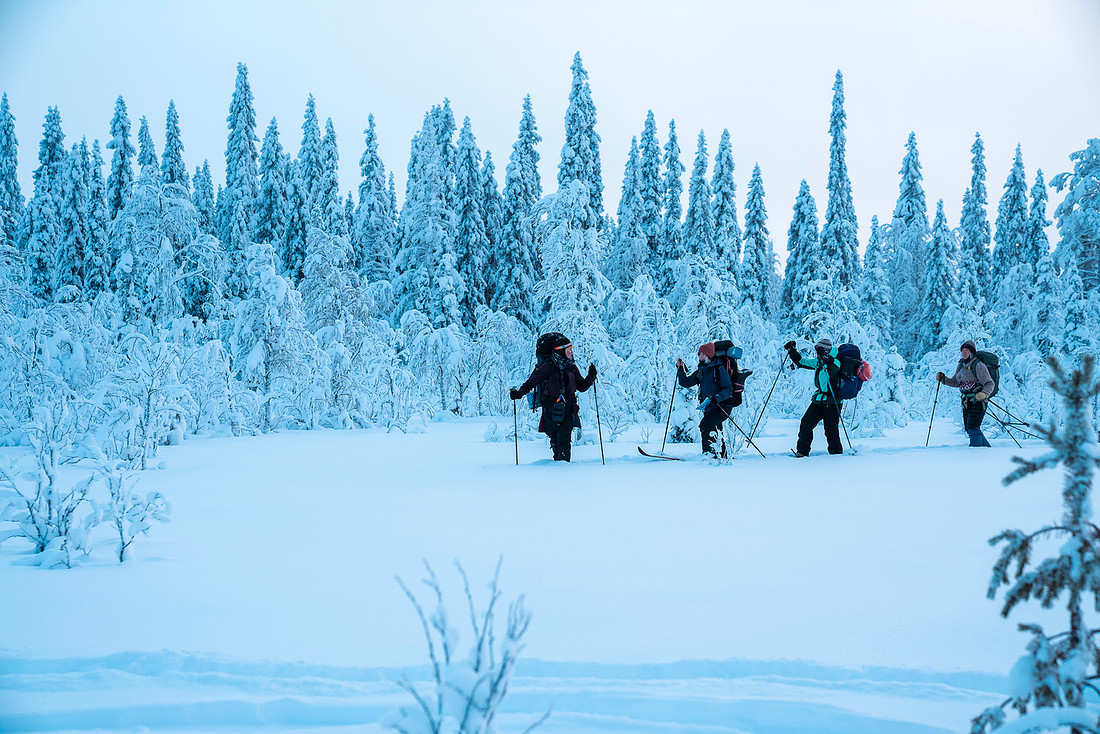
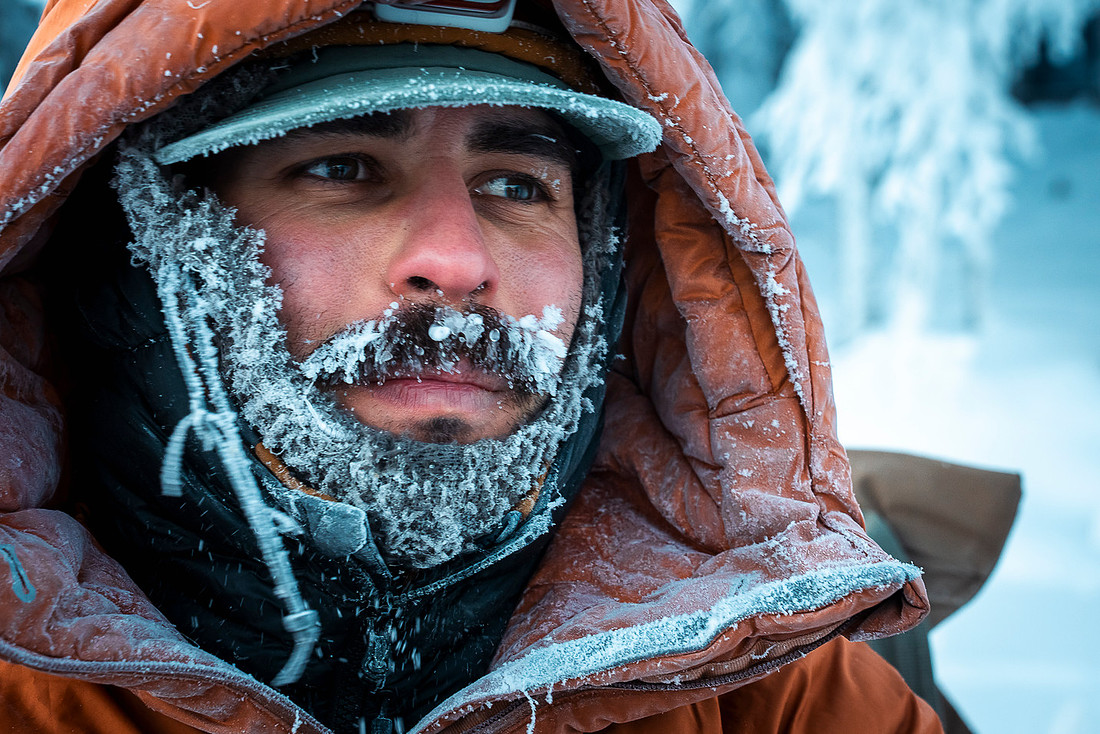
Temperatures sat between -20°C and -32°C the whole time. Proper winter. The kind that doesn’t allow you to be passive.
This trip is all about being proactive in subzero conditions. Layer before you sweat. Eat before you’re hungry. Fix small issues before they become big ones. In those temperatures, you don’t wait and see — you act early.
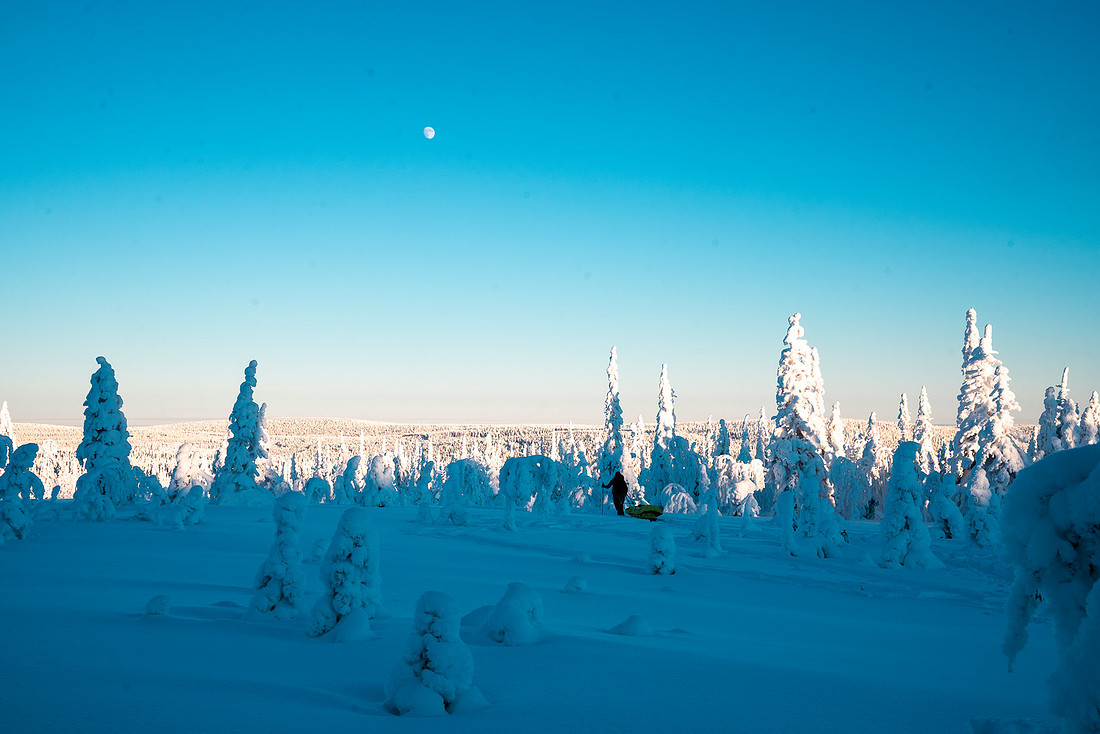
A big part of our daily rhythm was melting snow for water. Slow, simple, essential. It forces patience and teamwork. You realize quickly how much work a single liter of water actually is. Hydration becomes intentional.
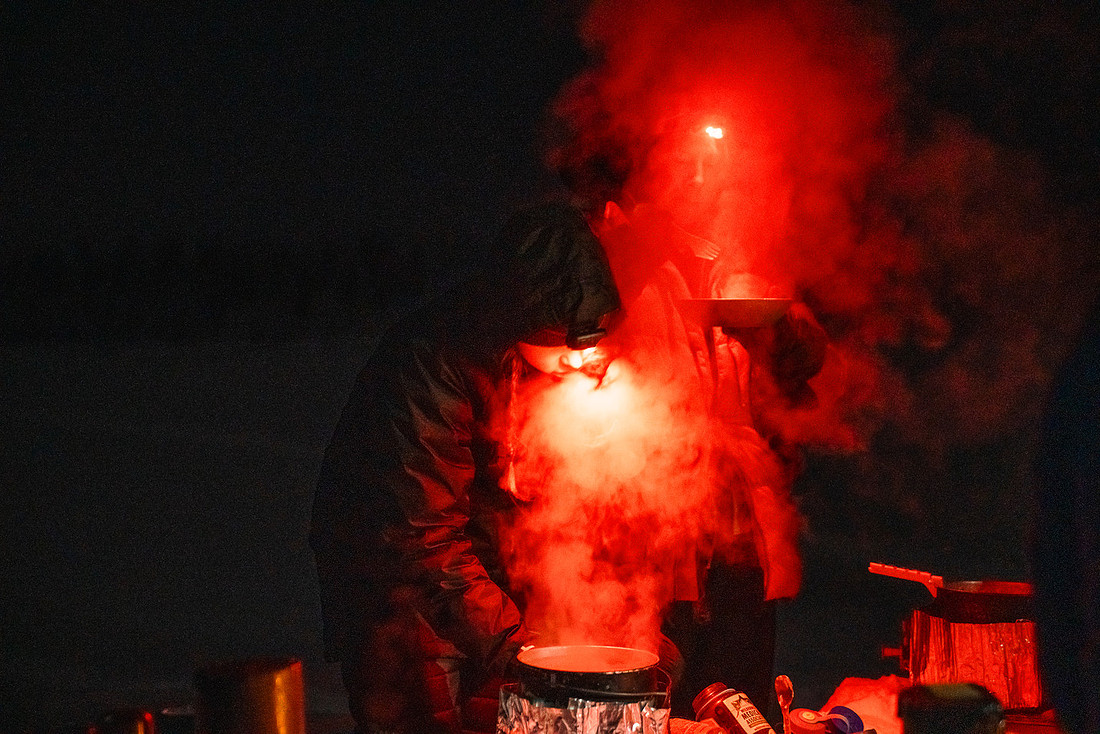
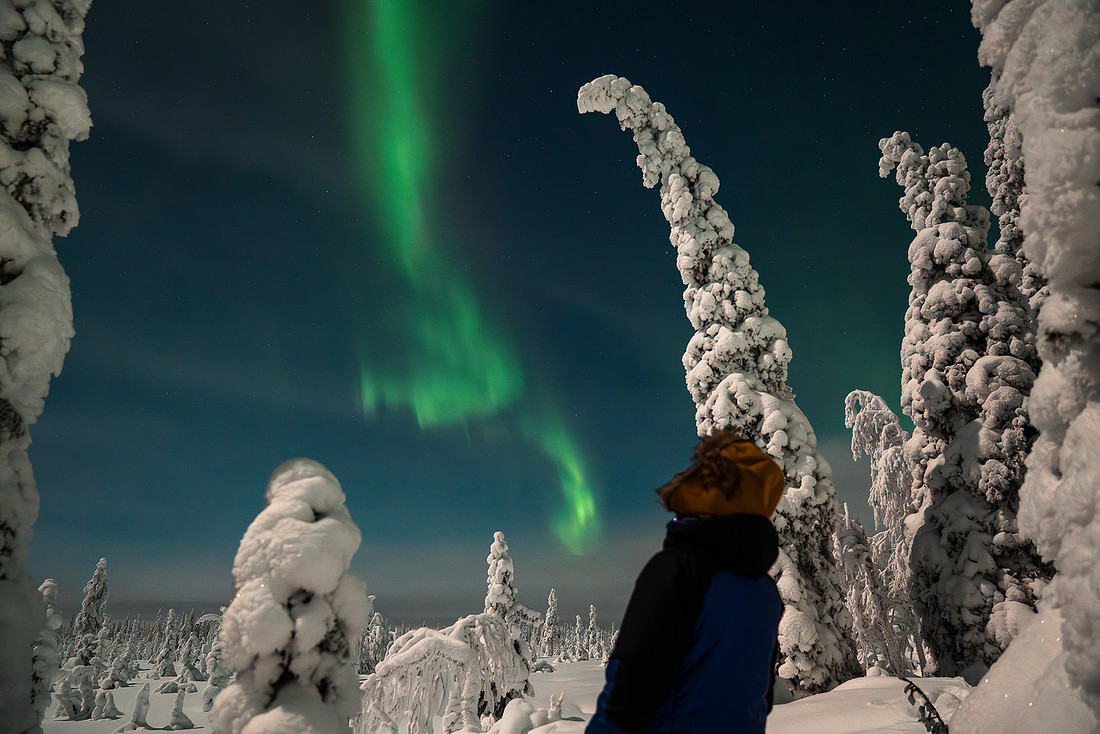
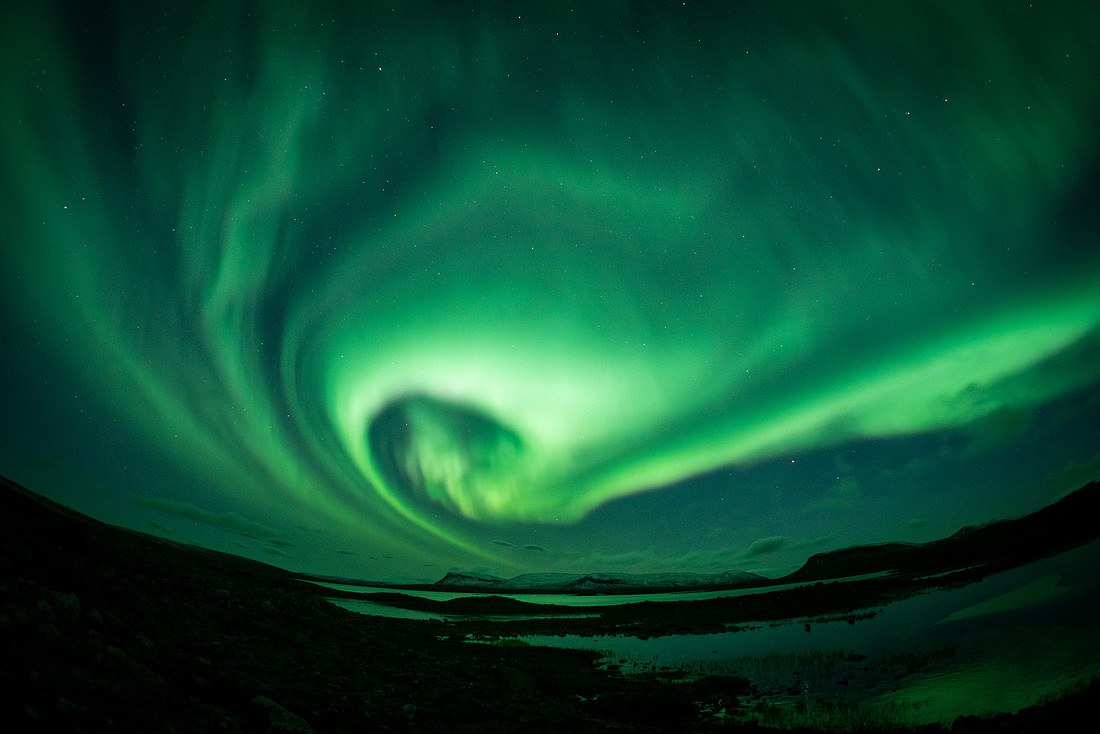
We skied through silent forests, everything covered in frost, air so crisp it almost felt sharp. And one night the sky opened up — strong northern lights dancing above camp. No one said much. We just stood there in -30°C, looking up.
By the end of the week, the group moved differently. More efficient. More aware. Camps went up smoothly. Stoves ran well. Everyone understood the cold instead of fighting it.
We finished the tour the right way — with a sauna and a solid reflection. Heat after six days in deep cold hits differently. The conversations were honest. About resilience. Confidence. Respect for winter.
That’s why we go out there.
Not to suffer — but to learn how to move well in real conditions.
Already looking forward to the next Freezing Tour. Want to go winter camping?
]]>
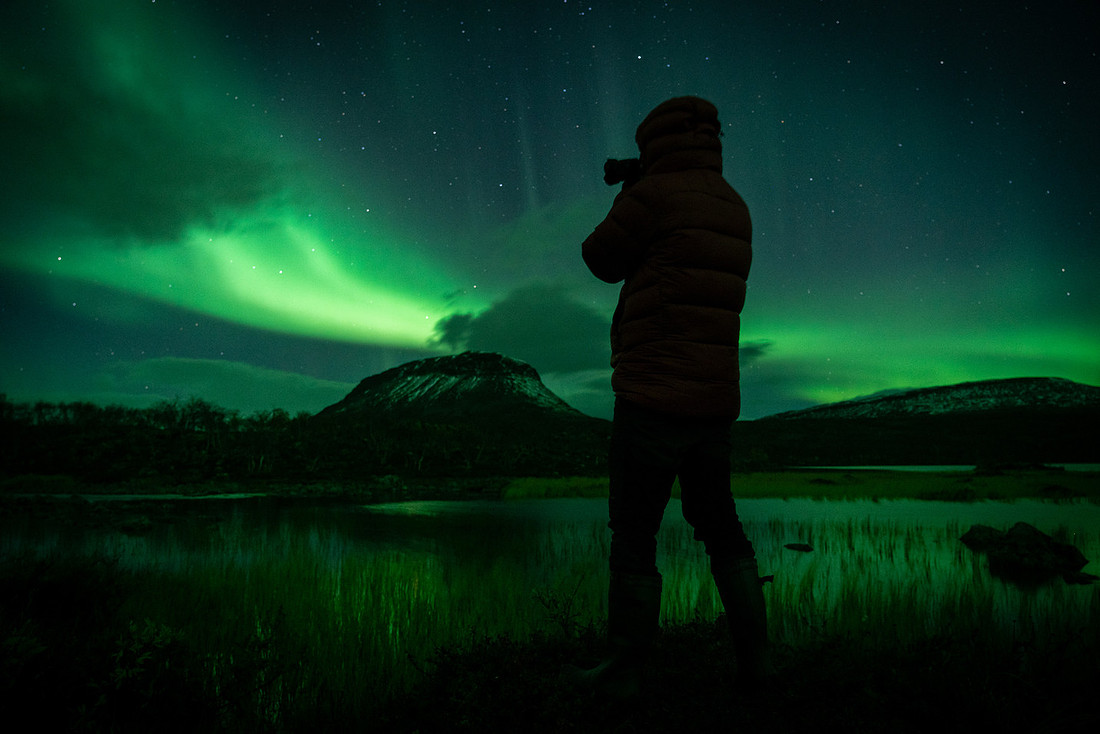
There is something magical about standing under the northern sky, camera in hand, as green light ripples across the horizon. The aurora feels alive — unpredictable, silent, and humbling. If you’ve ever tried to record it on video, though, you know it’s a tricky subject. The Sony A7 IV is a beast in low light, but capturing the aurora’s true motion takes the right mix of settings, patience, and timing.
Here are three field-tested tips I’ve learned for recording the aurora borealis with the Sony A7 IV — from choosing between S&Q and normal recording to knowing when the lights are strong enough to shoot.
1. S&Q vs Normal Video: Know Your Goal
The A7IV gives you two main ways to record the aurora — S&Q (Slow & Quick Motion) and normal video. Each has its own magic.
-
S&Q Mode
If you want that dreamy, timelapse-style sequence where the aurora dances in seconds, S&Q is the way to go. Set the frame rate to 1 fps or 2 fps, and use a 0.5–1 second shutter speed per frame. Keep your format in 4K 24p for rich color and smooth blending.
The camera bakes the timelapse into a ready-to-play video, which is perfect for creators who want cinematic clips without hours of post-processing. -
Normal Video Mode
For real-time aurora movement — those fast flickering curtains that feel alive — stick with standard recording. Go with 24p or 30p, a shutter of 1/15–1/30 sec, ISO between 6400 and 12800, and aperture wide open (f/1.4–f/2.8).
This gives you true video you can slow down or grade later, keeping more dynamic range and detail.
2. Nail Your Low-Light Settings
The aurora doesn’t wait for you to get your exposure right. Set up before it peaks.
-
Lens: A fast wide-angle like a 20mm f/1.8 or 24mm f/1.4 is ideal.
-
Aperture: Stay between f/1.4–f/2.8.
-
Shutter Speed:
-
Normal mode: 1/15–1/30 sec
-
S&Q mode: 0.5–1 sec per frame
-
-
ISO: Start at 6400, push higher if needed — the A7IV handles it surprisingly well.
-
White Balance: Lock it manually around 3500K–4000K to avoid color shifts.
-
Focus: Use manual focus, magnify a bright star, and dial it in until it’s tack sharp.
3. Chase the Right Aurora Strength
Even the best settings can’t make up for a weak display. For real-time video, you’ll want at least a Kp 3–4. That’s when the aurora begins to dance fast enough to see on camera.
For stronger, more dramatic movement — curtains and pulsing waves — aim for Kp 5 or higher. Below Kp 2, the lights are usually too faint for smooth footage, better suited to still photos or timelapse.
A good rule of thumb: if you can see color and motion clearly with your eyes, your camera can, too.
Bonus Field Tip
Keep a spare battery in your inner pocket — cold kills power fast. If you’re traveling somewhere remote like Finland or Sweden, bring a sturdy tripod; even the smallest shake will ruin long exposures.
And trust me — a pair of Vallerret photography gloves is worth every cent. They’ll keep your hands warm and nimble so you can tweak settings without freezing your fingers off.
The first time I recorded the aurora on my A7IV, I remember checking the screen in disbelief — the greens and purples were dancing just like they had in the sky. That’s the reward of getting your setup dialed in.
When the lights start moving, hit record and forget the rest. Just enjoy the show. Super cool!
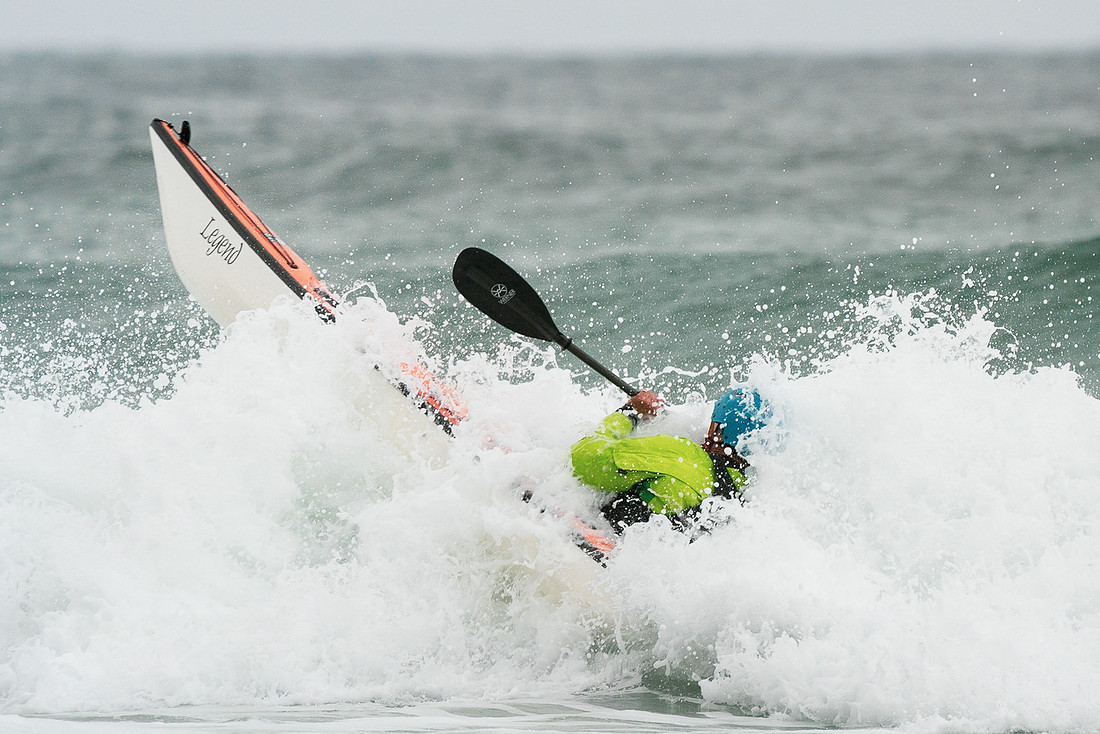
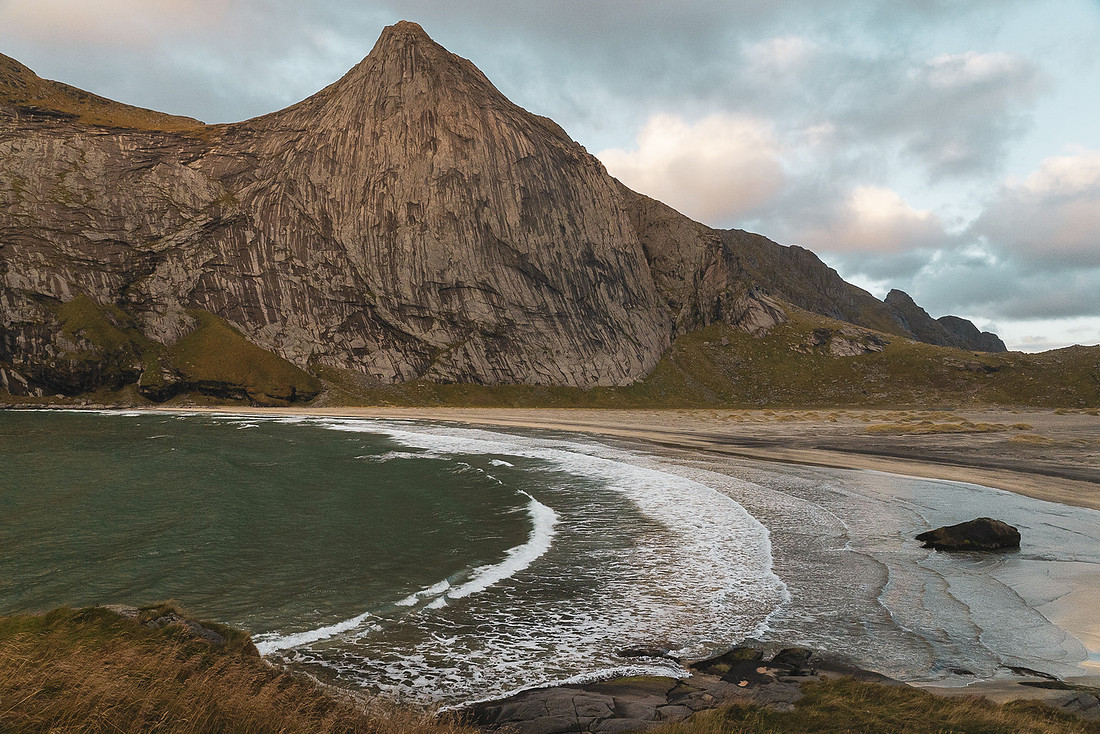
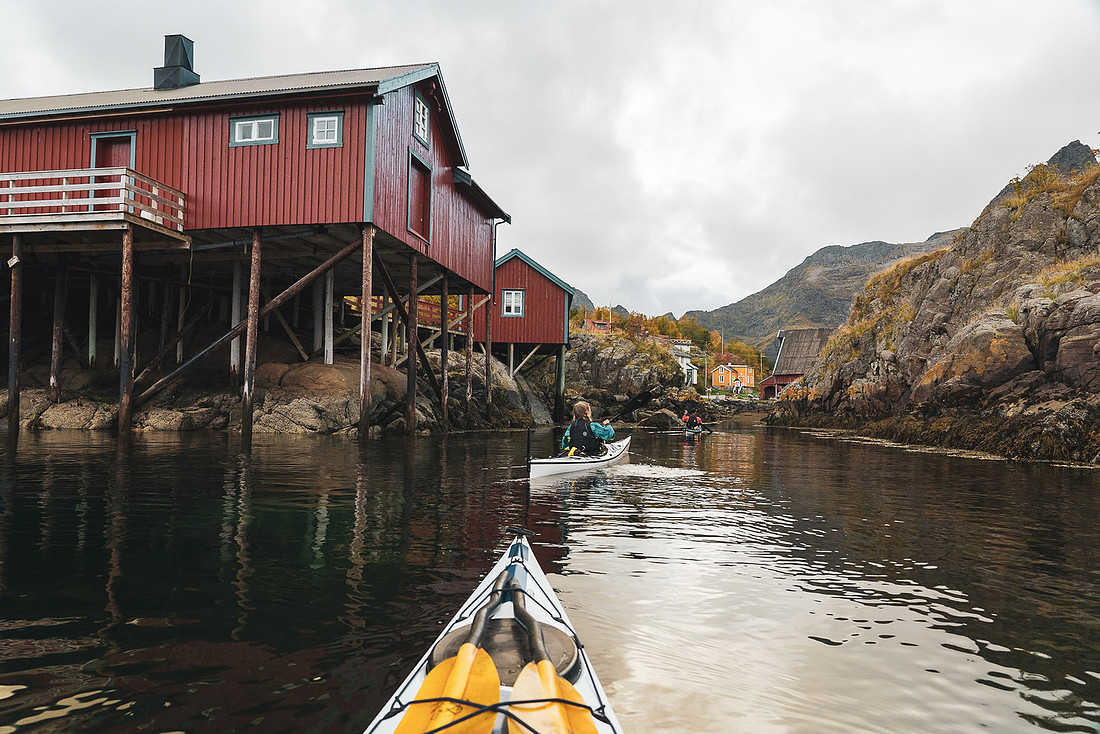
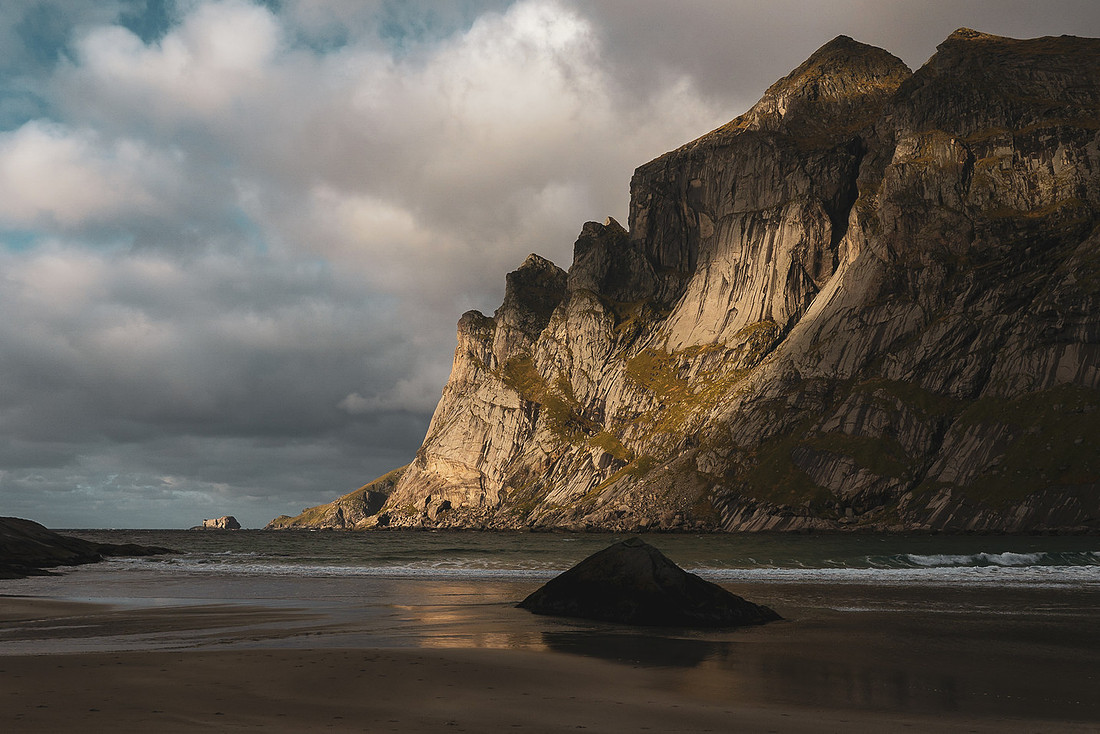
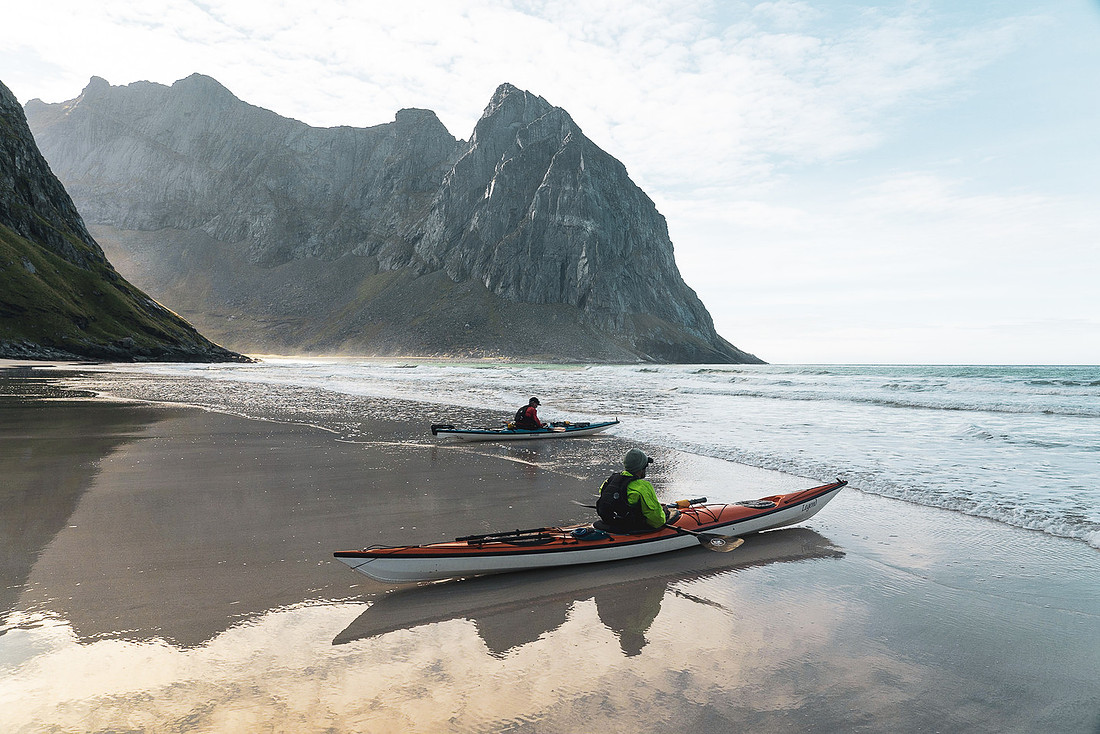
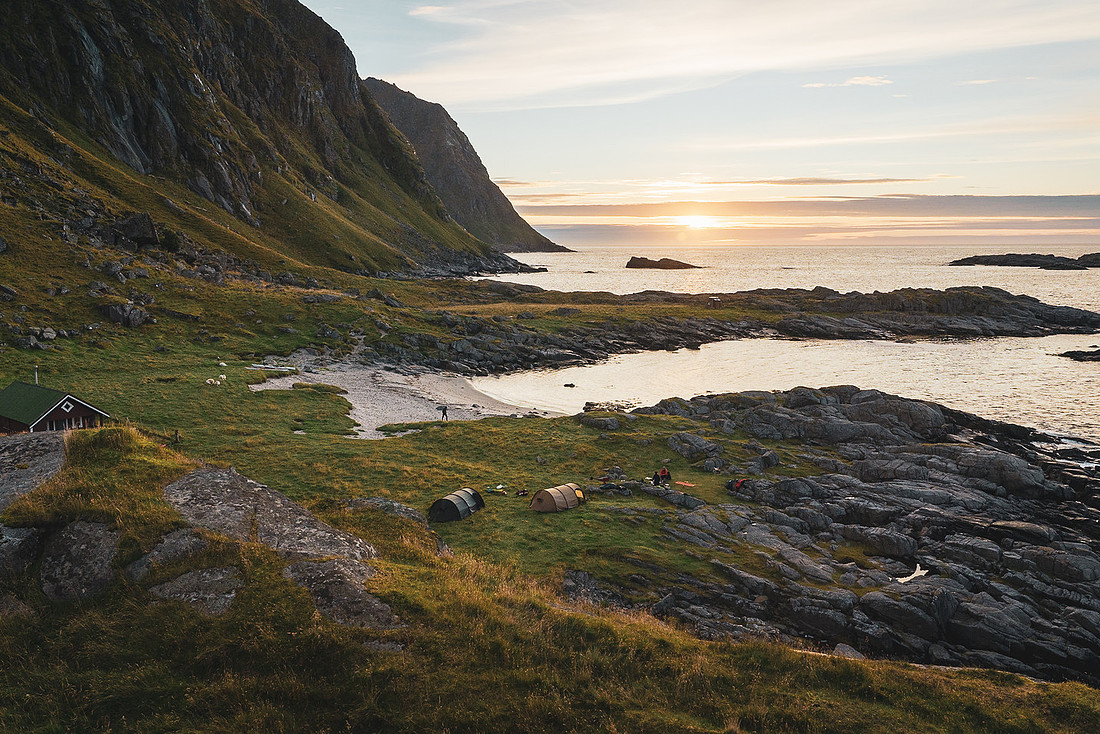
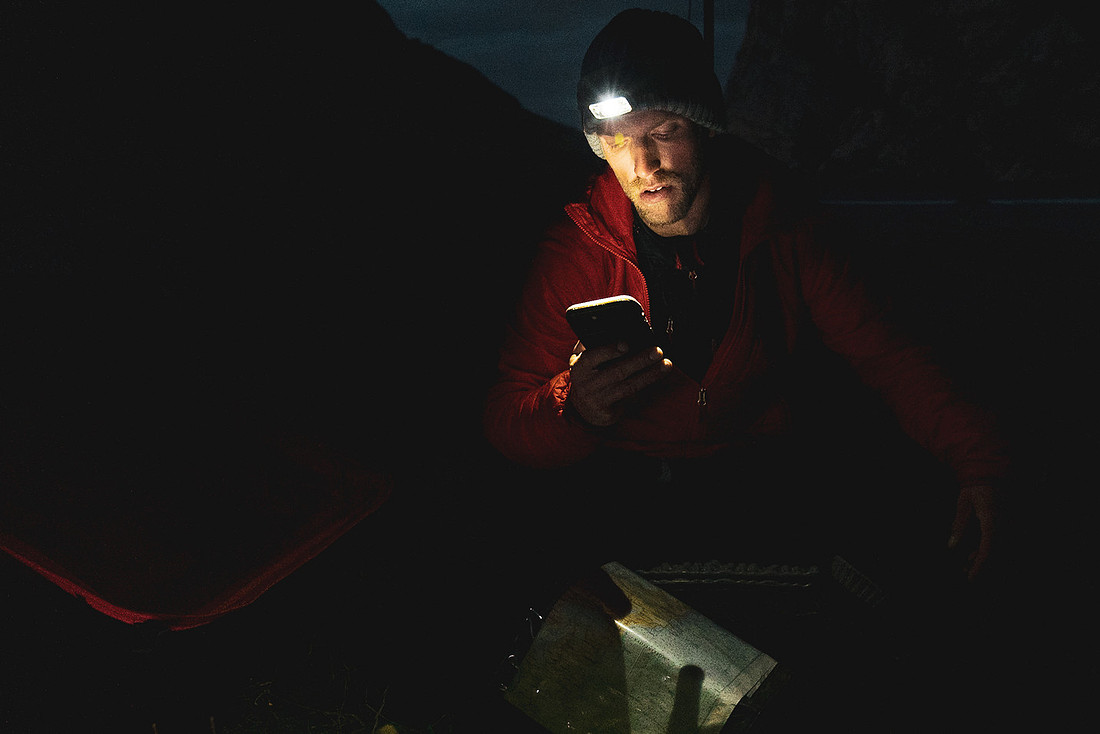
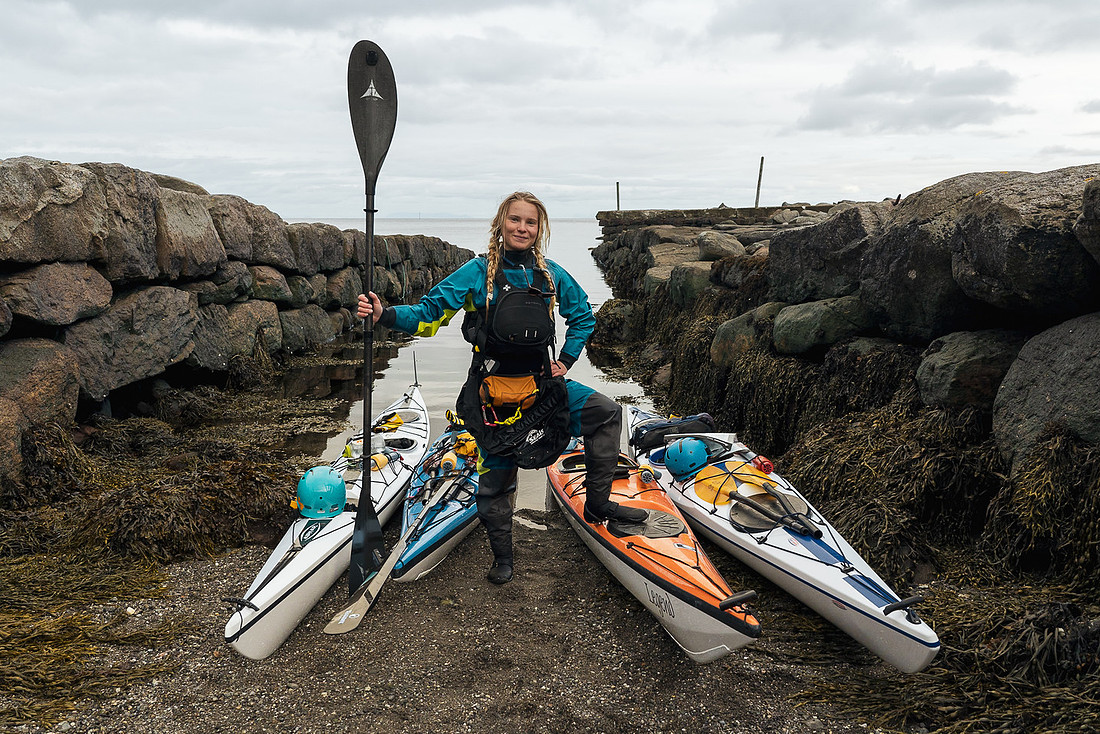
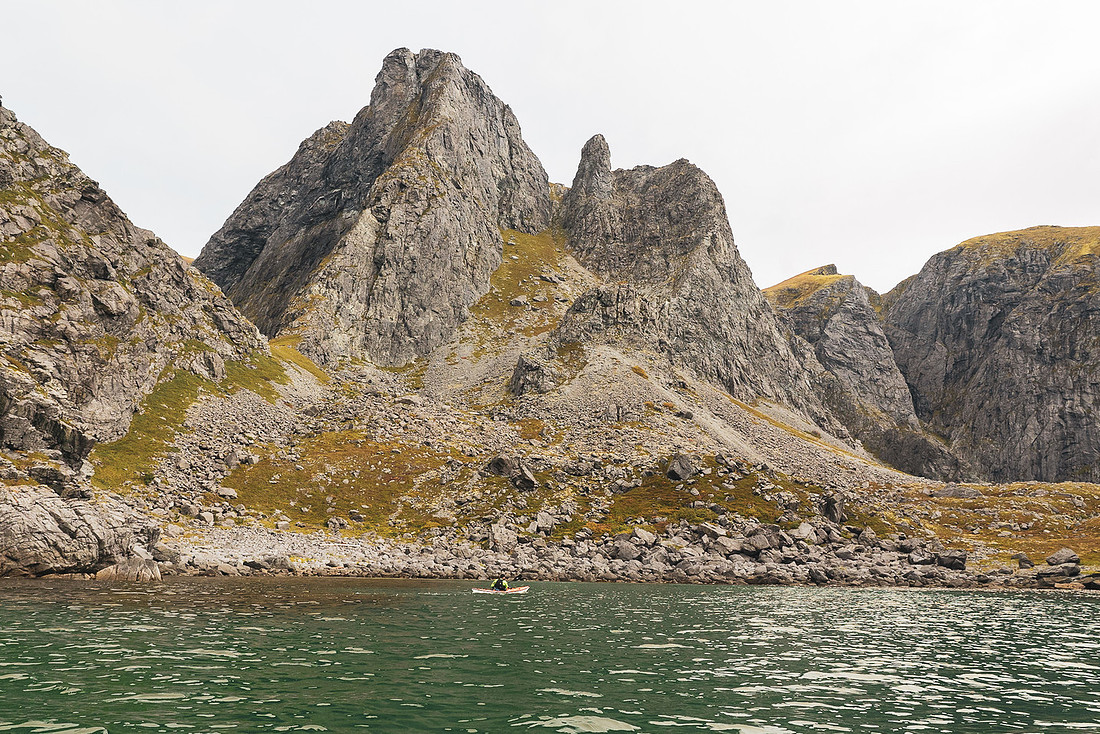
It wasn’t just the scenery that left us in awe. The expedition tested our resilience, teamwork, and spirit, reminding us that the wildest places often demand the most from us — and give back even more. From battling the open coast to savoring moments of serene calm beneath towering cliffs, every day was a lesson in patience, perseverance, and the sheer joy of being present in nature’s grandeur.
This journey wasn’t just about paddling; it was about connecting — to the sea, to history, and to each other. And as we returned to shore, tired but exhilarated, I felt an immense gratitude for the privilege of sharing this adventure, and for the reminder that some of the most transformative experiences happen when we push ourselves beyond the familiar.
See full expedition article here
1. Capture the Diversity of Landscapes
Both India and Tanzania offer wildly different environments, each with unique visual opportunities:
-
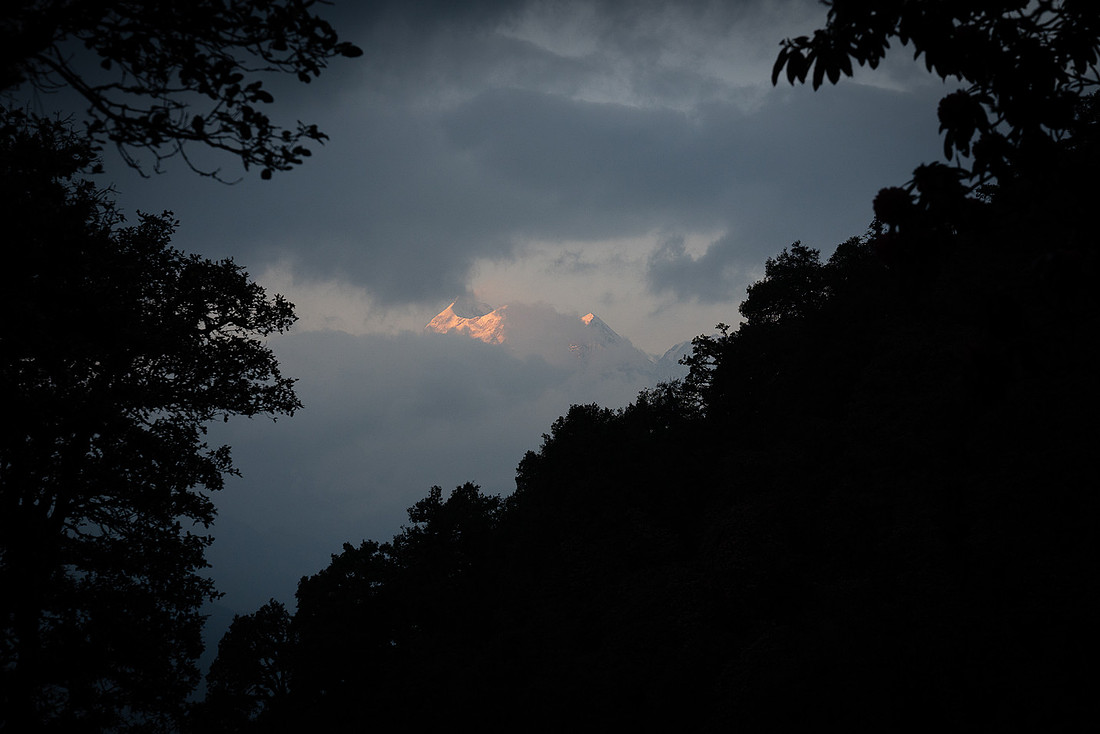
India: The rugged Himalayas, the landscapes are dramatic and full of color. Dense forests, winding rivers, and ancient villages provide endless photo opportunities.
-
Tanzania: The volcanic terrain of Ngorongoro, and the endless plains at sunrise make for breathtaking panoramic shots. Wildlife like elephants, lions, and zebras can be captured in their natural habitats.
📸 Tip: Use a mix of wide-angle shots to capture landscapes and telephoto lenses for wildlife or distant details. On a NOLS course, your Instructors can help you find the best viewpoints while keeping you safe.
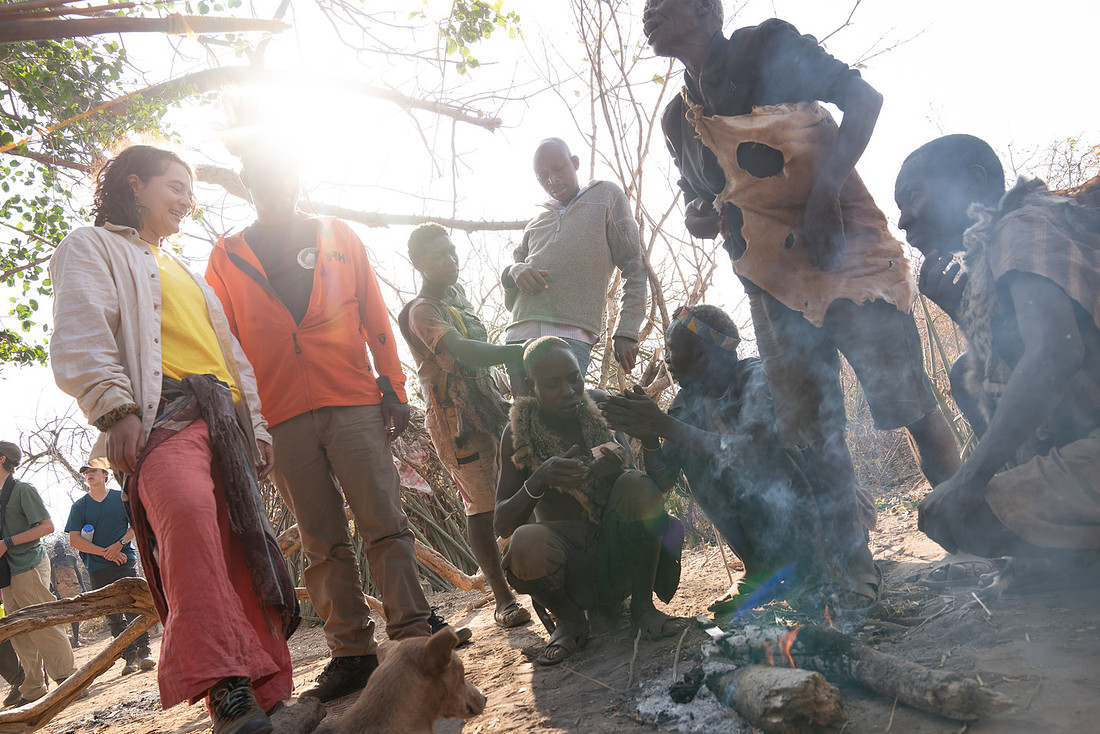
2. Tell a Story Through Human Experience
Adventure photography is more than just scenery — it’s about showing people in action, learning, and adapting to the environment:
-
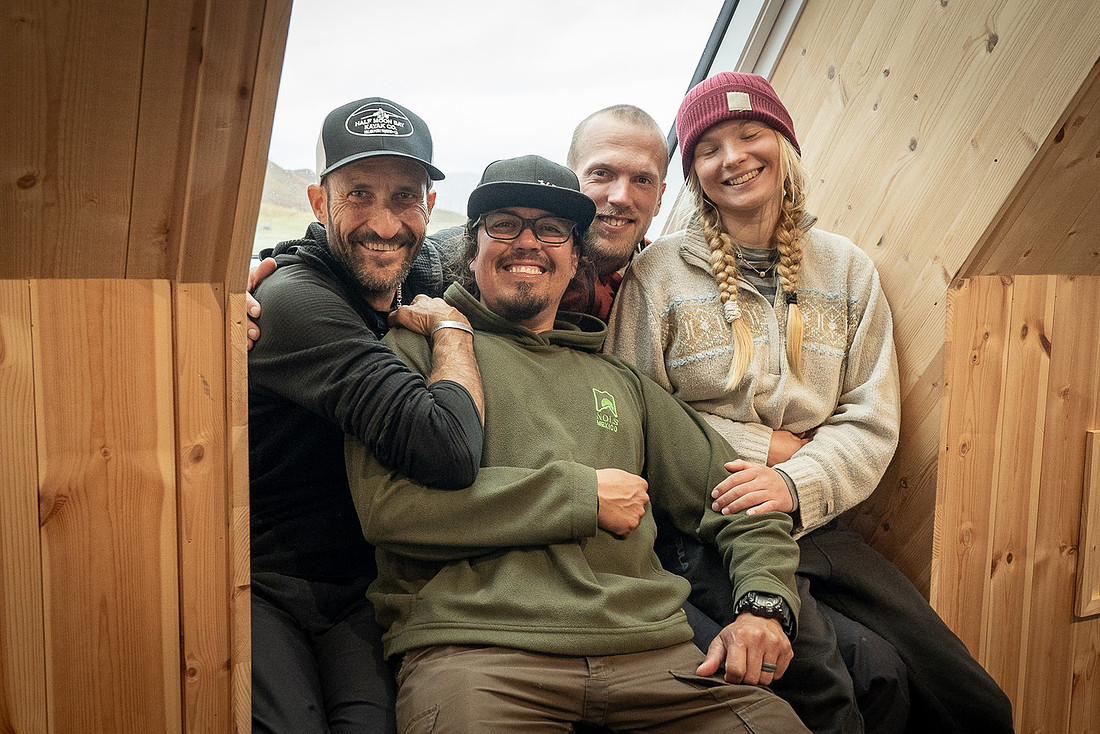
Teamwork in the wild: Capture your group navigating rivers, setting up camp, or practicing leadership skills.
-
Local culture: Include glimpses of local communities, traditional crafts, or cultural rituals that highlight the region’s authenticity.
-
Everyday moments: Cooking over a fire, mapping a route, or observing wildlife can create intimate, compelling narratives.
📸 Tip: Use candid shots to capture genuine emotion, and try to show the scale of the environment in relation to people to emphasize the adventure.
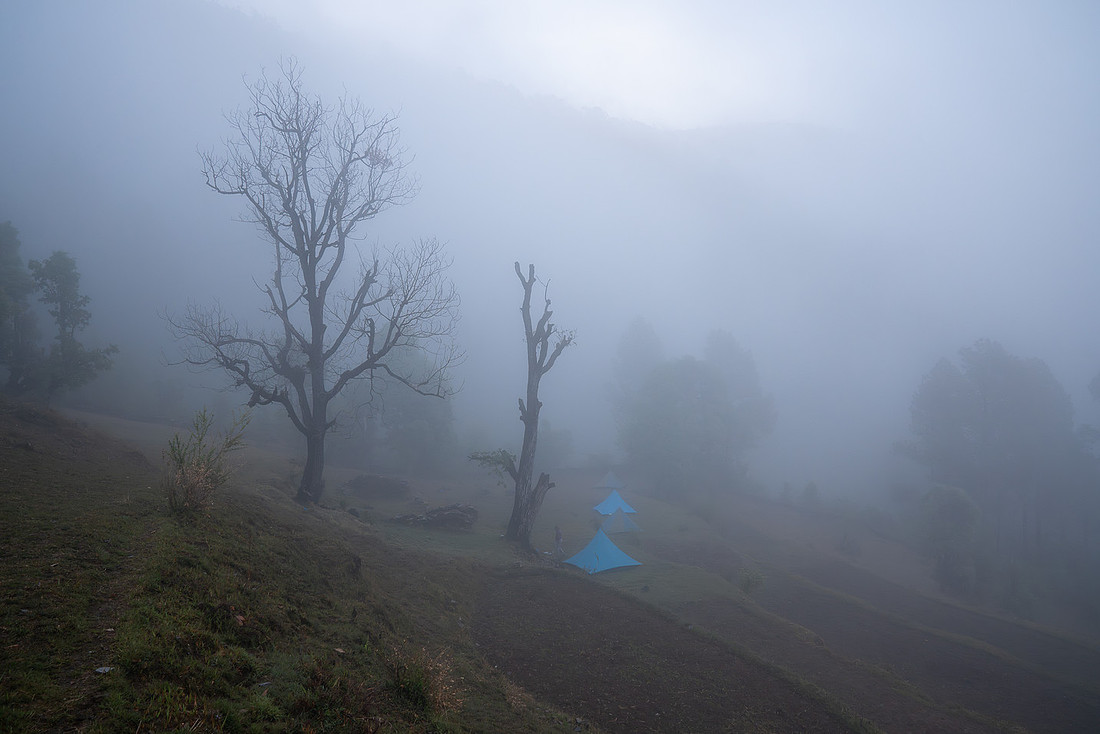
3. Embrace a Sense of Place
What makes adventure photography truly impactful is conveying a sense of place:
-
India: Capture the misty hills at dawn, a river winding through dense forests, or the colors of a remote village market.
-
Tanzania: Show the vastness of the Serengeti plains, dramatic sunsets over Kilimanjaro, or a close-up of wildlife in natural light.
📸 Tip: Focus on environmental details like textures, light, and shadows to create images that transport your viewers. Combining these with your action shots tells a richer story and highlights the unique character of each location.
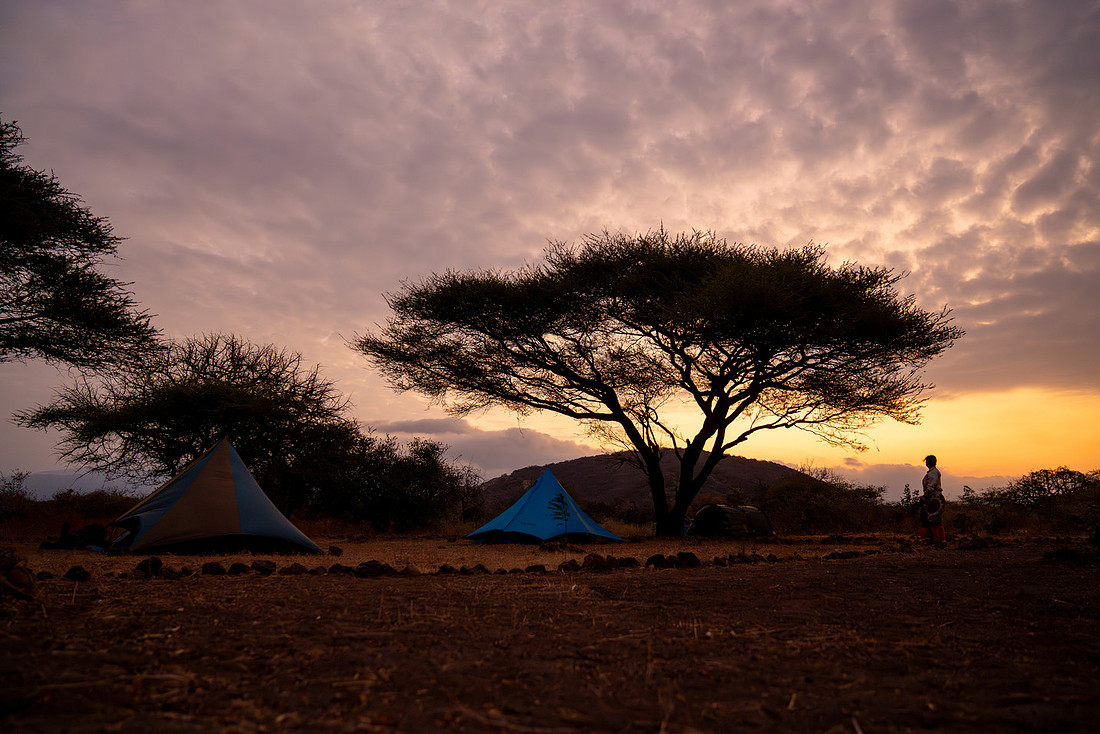
4. Use Your Gear Wisely
Whether you’re using a DSLR, mirrorless camera, or a GoPro HERO, preparation is key:
-
Lighting: Golden hours (early morning and late afternoon) give soft, dynamic light perfect for landscapes and wildlife.
-
Stability: Tripods are essential for low-light or cinematic shots.
-
Settings: Adjust resolution, shutter speed, and aperture to suit each environment — from Indian mountains to bright African plains.
📸 Pro tip: Bring extra batteries and memory cards — remote NOLS courses often mean limited access to power or storage.
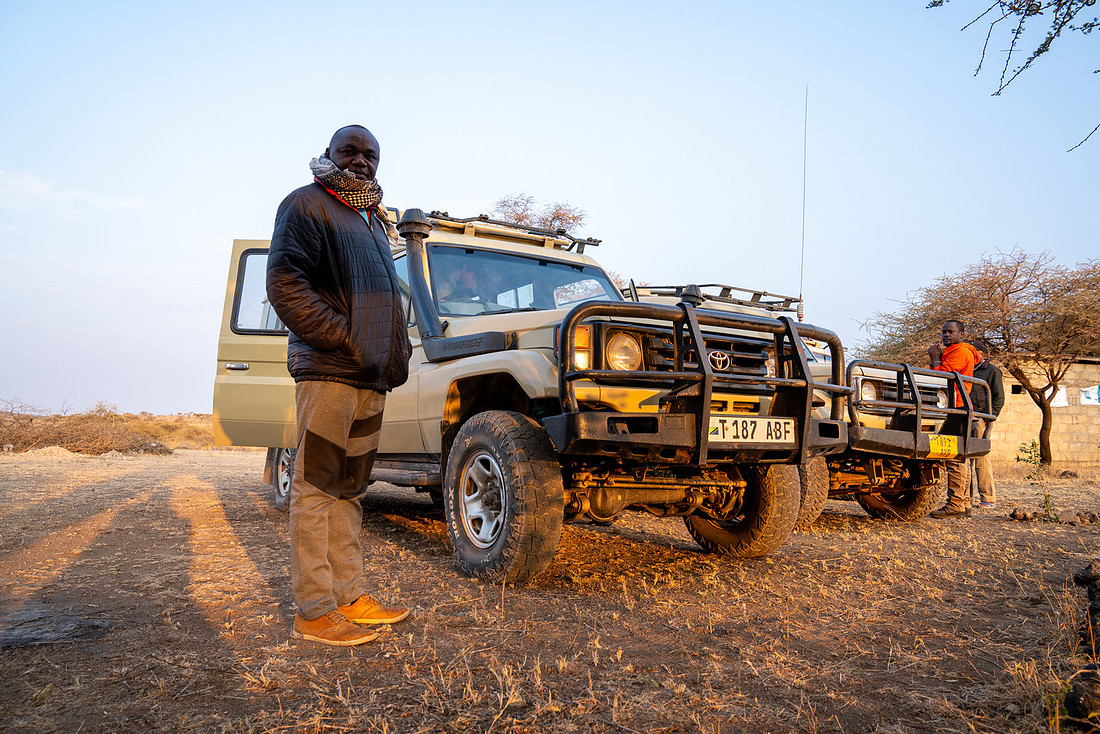
NOLS courses in India and Tanzania offer the perfect combination of adventure, learning, and cultural immersion. By focusing on storytelling, sense of place, and technical skills, your adventure photography can do more than document your journey — it can inspire others to explore, learn, and connect with the world.
Adventure photography isn’t just about capturing moments — it’s about capturing the feeling of being fully present in extraordinary places. NOLS guides, wilderness experiences, and the rich diversity of India and Tanzania give you everything you need to make your photos unforgettable.
]]>
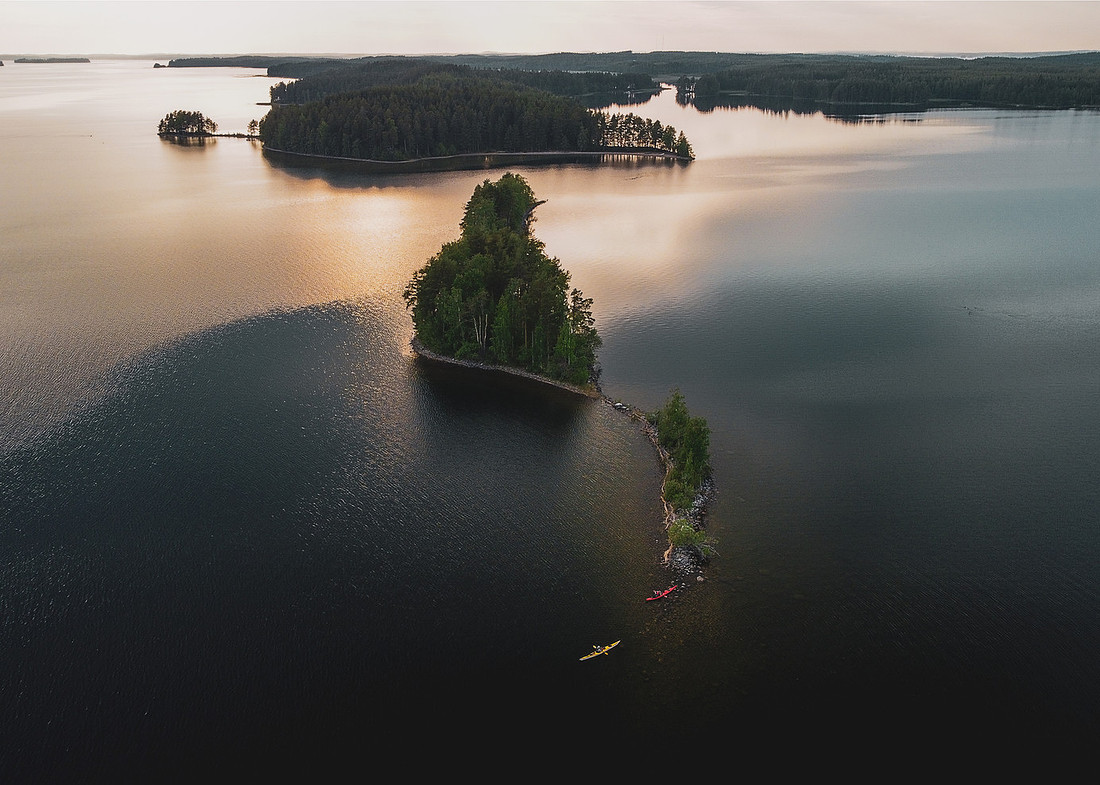
3 Tips for Adventure Photography in Finland’s Saimaa Lakeland
There’s something about Finland’s Lake Saimaa that makes you want to slow down, breathe deeply, and just look. The stillness of the water, the endless forests, and the light that never quite behaves the same way twice — it’s a dream for anyone who loves adventure photography.
Whether you’re chasing misty mornings, golden sunsets, or that perfect reflection on calm water, here are three simple tips to help you make the most of your time (and your camera) in this stunning part of Finland.
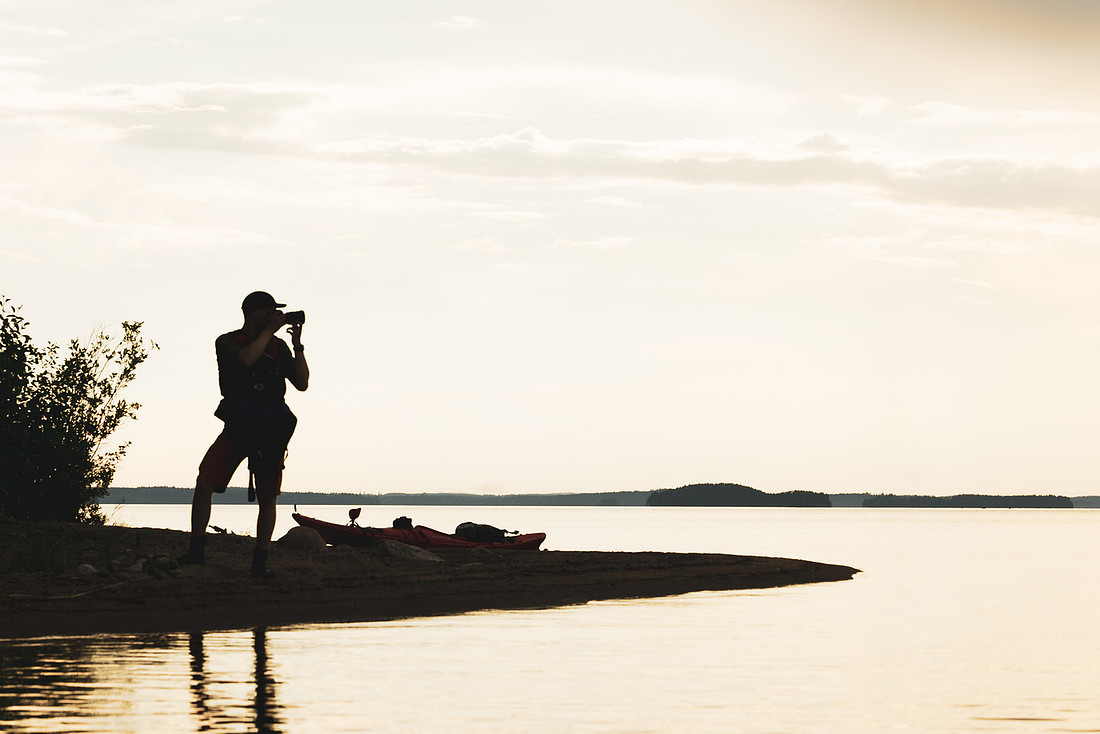
1. Work With the Light
Light is everything in Saimaa. In summer, the sun barely sets, and you’ll have hours of soft, golden glow to play with. Wake up early or stay up late — those quiet hours are when the magic happens.
In winter, it’s the opposite. The days are short, but the rewards are huge: frost-covered trees, frozen lakes, and, if you’re lucky, the Northern Lights dancing over the horizon. The low light makes everything feel calm and cinematic.
📸 Tip: Bring a lightweight tripod and a fast lens (f/1.8 or wider). It’ll help you stay steady in low light and capture the subtle tones that make Saimaa so unique.
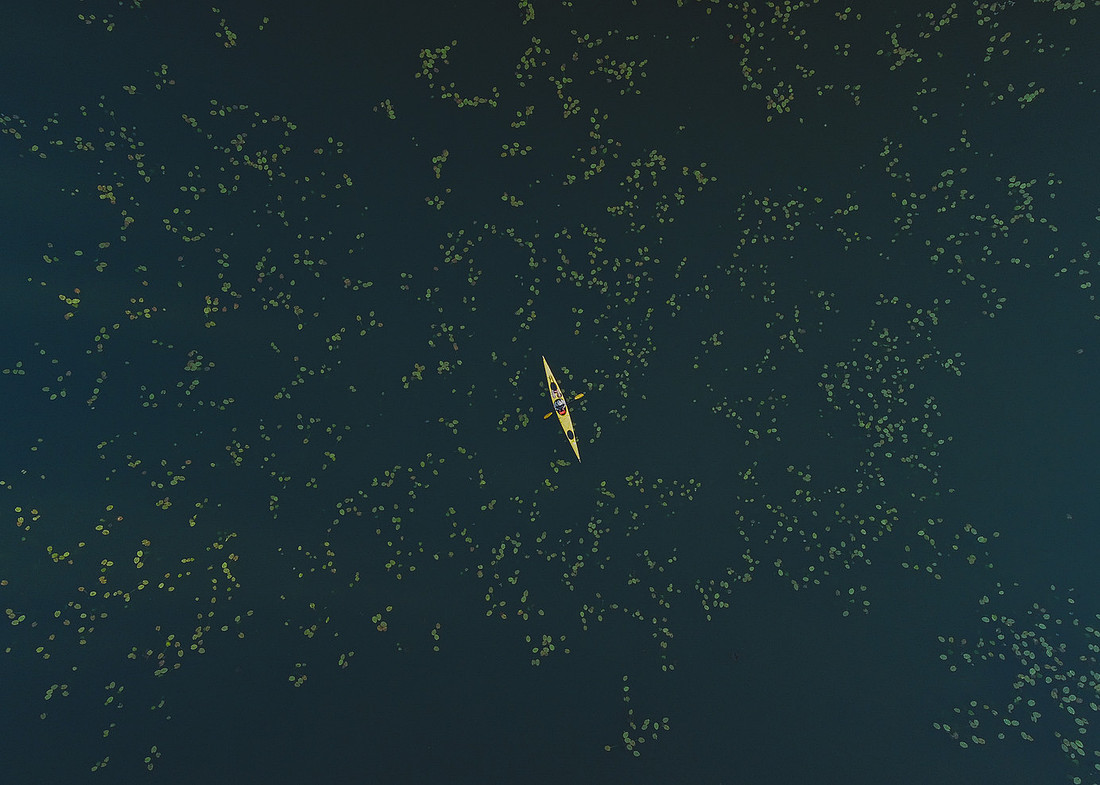 2. Get Out There
The best photos in Saimaa don’t come from the road — they come from the water. Rent a kayak or canoe and explore the smaller islands, or take a local boat tour that winds through quiet coves and hidden bays.
If you’re up for hiking, Linnansaari and Kolovesi National Parks are full of photo opportunities — think rocky cliffs, mirror-like lakes, and maybe even a glimpse of the rare Saimaa ringed seal.
📸 Tip: Pack a polarizing filter to cut glare and make the greens and blues really stand out. And don’t rush — sometimes the best shots come when you’ve stopped moving and just let the landscape sink in.
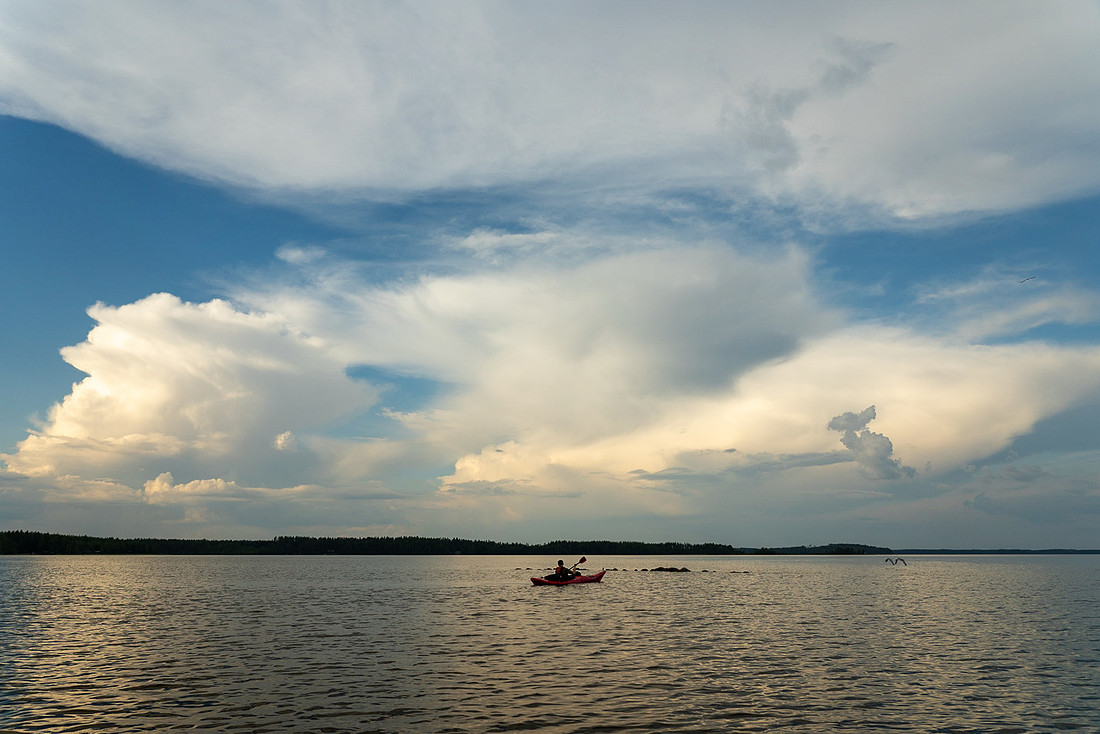 3. Capture the Feeling
Adventure photography isn’t only about landscapes — it’s about moments. Photograph a local fisherman heading out at dawn, a warm sauna cabin glowing by the water, or a friend sipping coffee on a frosty morning.
Those small human details tell the story of Saimaa just as much as the vast scenery. They bring warmth and connection to your photos — and that’s what makes people want to visit.
📸 Tip: Shoot in RAW so you can bring out all the subtle tones later — from the misty greys of morning to the deep blues of twilight.
Saimaa isn’t just a place — it’s a feeling. It’s the quiet hum of nature, the play of light on water, and the sense that you’re somewhere truly wild and alive. If you love photography and adventure, give yourself time here. Slow down, explore, and let the landscape show you its rhythm.
You won’t just take beautiful photos — you’ll take home a piece of the calm that makes Finland so special.
📞 Custom guided trips for small groups: +35 40 6542776